Home
/
Tutorial:
Graphics
Graphics
*****
Graphics are not to
everyone's taste, but you have to admit some cars with more wilder body
styling deserve as equally wild paint jobs. This step by step tutorial goes
some way to explain the basics of adding art work to your car.
Last Update: 01st May 2015

Copy and paste this image into Photoshop as a new layer on your car image.

In this case, I have flip it over (so that it is in the same direction of the car) and turned it slightly anti-clockwise.

These layer styles help it to blend in with the bodywork better and remove any large white or black portions.
If you have trouble removing all of the colours, use the lasso tool and delete key to remove the bits not required. The eraser tool can be used to blend the airbrushing into the paintwork, or another picture.
Whilst you are at this box, lower the opacity to about 80%.

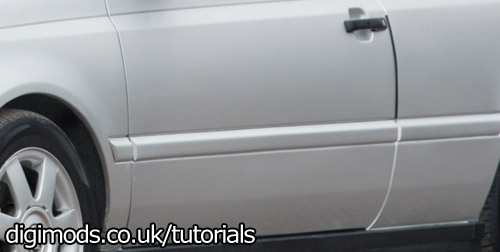
Now you need to remove the bits that overlap the door handles etc.. This is done with the lasso tool (L) and delete key!
You can also use the eraser (E) (at the appropriate size) in areas you want to blend out.
